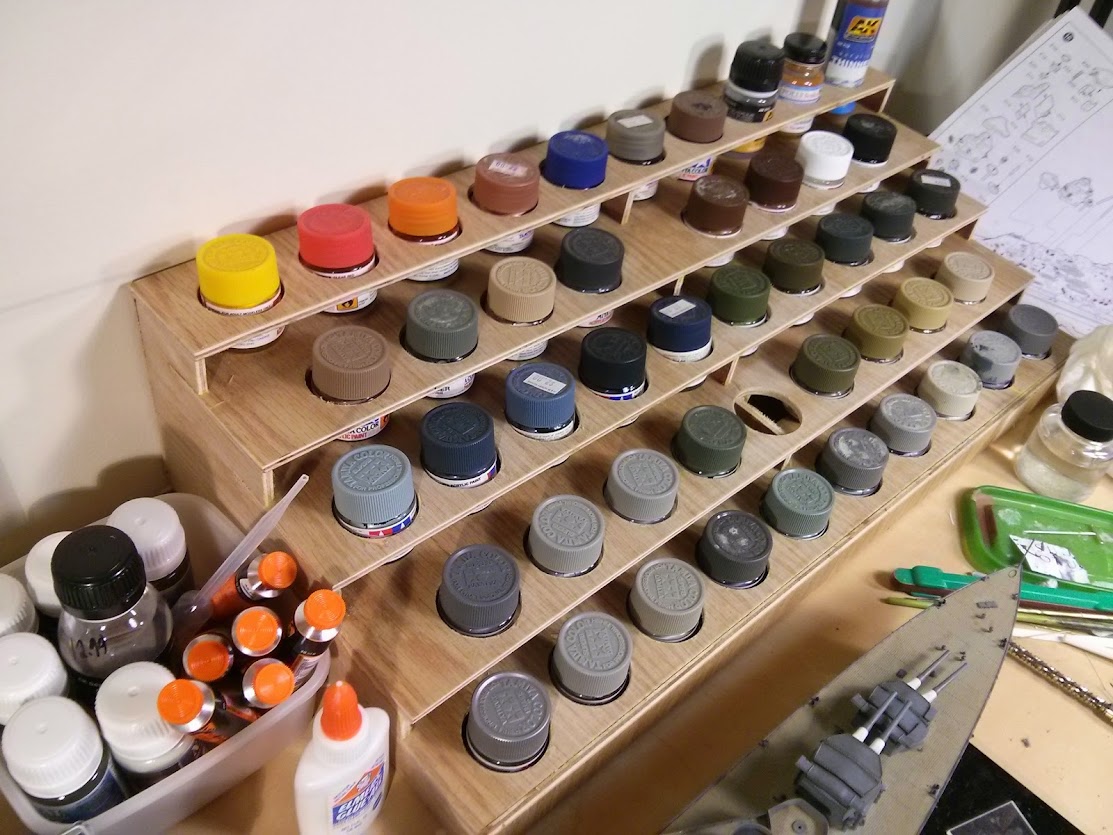
I had a fair bit of clutter in my work space and wanted to straighten things out some. I half jokingly thought to myself that what I needed was a retail display rack, so my extra paints would be neatly out of the way and everything would be well organized, so I looked on eBay. What I found was a few very expensive options, including someone selling pretty simple laser cut wooden racks for a rather high price. I figured I could build something similar, and for far far less, and so I did.

The hardest part of this project was figuring out how to make the most of the scrap piece of 1/8th plywood I happened to have in the garage, so my dimensions are a function of the wood that was at hand, rather then any real planning. Despite that, it turned out well. It's 21" wide, allowing 10 jars with 2" spacing, the first one is 1 /2" in from the side. The 'shelves' are 3" deep, and the holes are drilled 1" in on one side. The overhang of each shelf supports the jar in the row above. The top row is only 2" wide, as it has nothing to support. The 'steps' along the sides are 2" deep and 1" tall, with a 1/8th" cut 1" deep to help secure each shelf. I made a third vertical piece, an extra side if you will, and placed it in the center, concerned that the weight of the paints would cause sag. It's probably necessary, at least in this length. Were I building this 5 jars wide I'd not bother. On the bottom there's a 1" strip running under the first row, so the rack can be lifted without the front jars remaining on the table.
To build, I cut the basic shapes on my table saw. These were:
Wide shelves: 3" x 21" (x4)
Top shelf: 2" x 21" (x1)
Rough Sides and center: 5" x 10" (x3)
Back: 5" x 21"
Bottom runner: 1" x 21" (the cut in half and trimmed to fit nicely astride the center support)
I measured the center points for the jar holes, marking the underside of the wood. I wrongly thought the shelves might be a little weak so on shelves 2 and 4 I offset my holes. After doing the first I realized the center support would block the hole (as you can see above) so with the second I only drilled 8. I thought that would distribute the weight of the paint but it was really unnecessary, were I do do this again not bother. In fact, if I had any more of this wood on hand I'd just make 2 new shelves, but it's not really worth the fuss. Anyhow, I stacked the other shelves and clamped them together to make the drilling quick. (1 3/4" Forstner bit)
I then took some time to measure my steps for the vertical supports, and marked up the cuts with a sharpie on the backside. Using masking tape I attached the boards so I'd only have to do the cut once. Easy peasy.
The planning, cutting and drilling took about an hour. I then glued it up and clamped it overnight. Next day I spent about 15 minutes sanding the edges and voila! My desk is suddenly much less cluttered:


