The minor fit problems have been noted and simple solutions will fix the problems.
D-Boy asked:
Gordon, did you anticipate this from the dry fit? Looked like it was fitting well at that stage. I have this kit in the stash, and will be taking notes from your build.
Yes, the dry fit showed this problem.
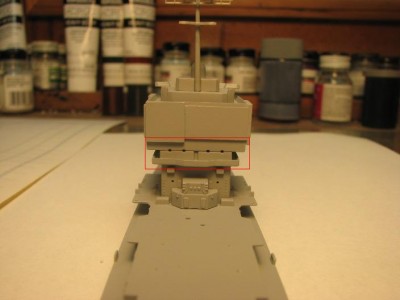
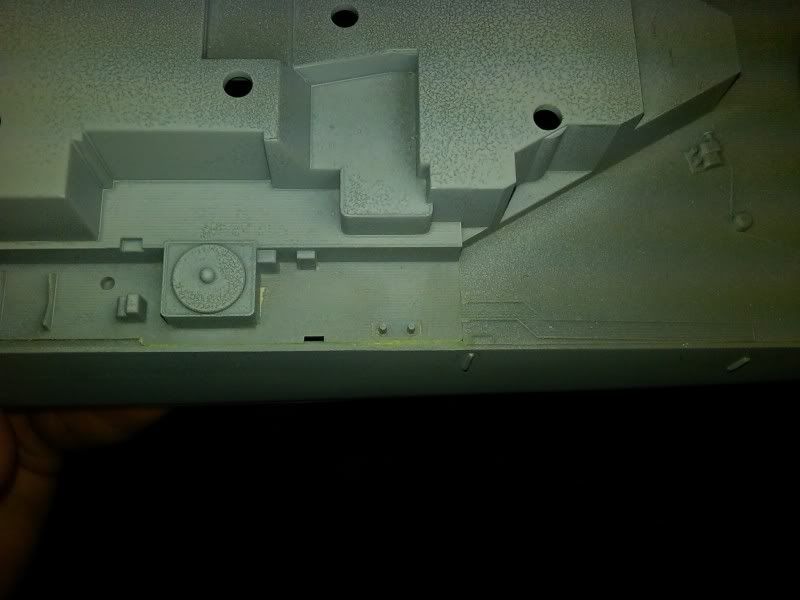
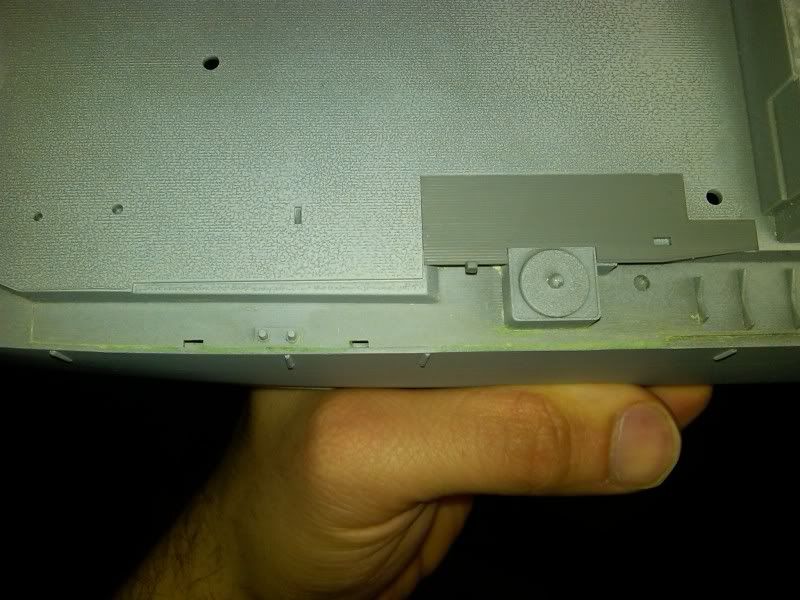
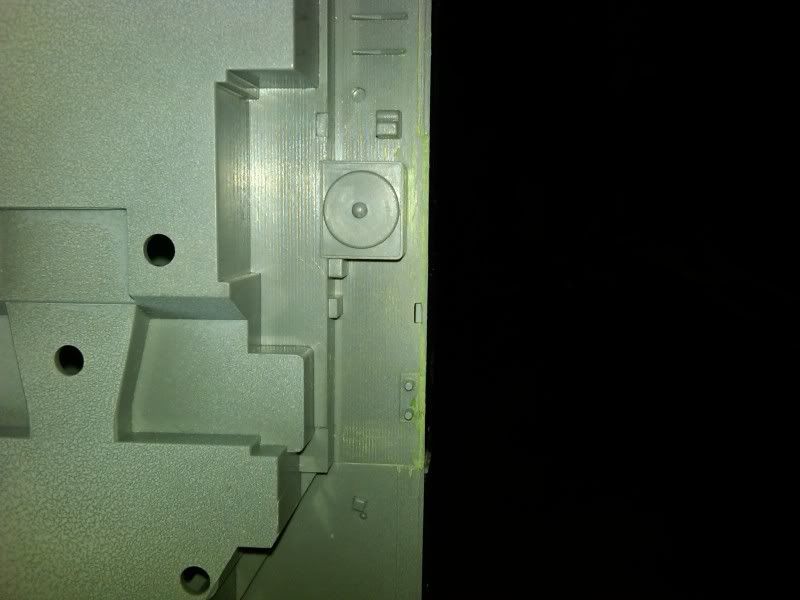
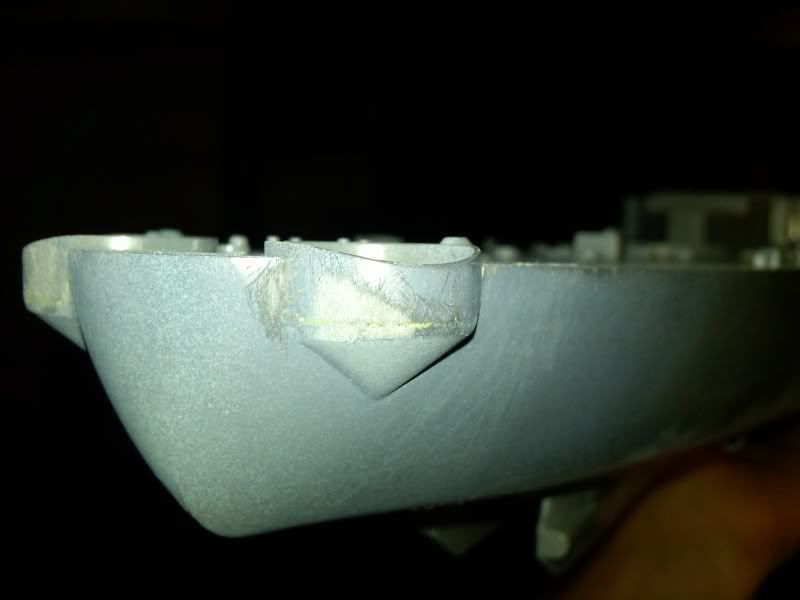
As noted before the block made up of parts C6 and C7 has some minor moulding problems. The upper piece C6 is the major problem where the edges between the two parts don't line up square and the three locating pins were cut off of C6 and that provided a better fit. Two layers of putty smoothed the two pieces and made for a flat surface.
Attachment:
File comment: The sanded putty shows the low spots that have been filled in.
 USS Long Beach CGN-9 012.jpg [ 51.59 KiB | Viewed 1506 times ]
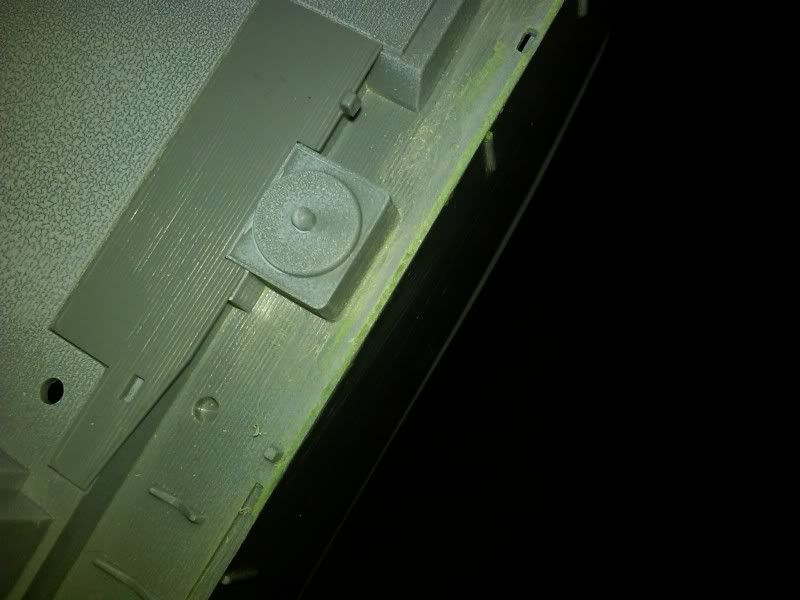
The next picture shows that the radar panels cover up all the putty and that the corners are the real issue with the fit.
Attachment:
File comment: Only the corner edges show after the radar panels are installed.
 USS Long Beach CGN-9 013.jpg [ 51.53 KiB | Viewed 1506 times ]
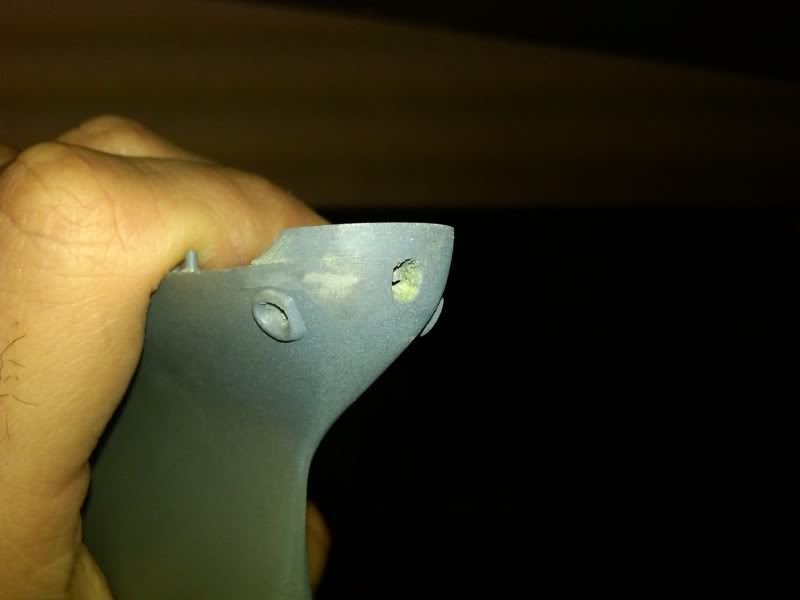
Attachment:
File comment: This gap between these parts needs to be dealt with in section three and not section ten before the radar panels are glued to the block. The walls and deck of part C23 should be painted first and then the parts assembled.
 Long Beach 008.jpg [ 31.39 KiB | Viewed 1262 times ]
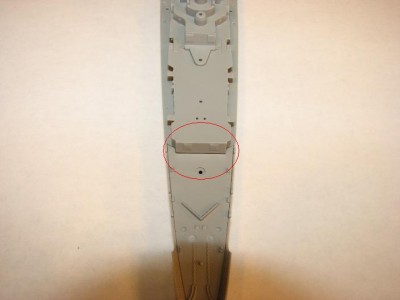
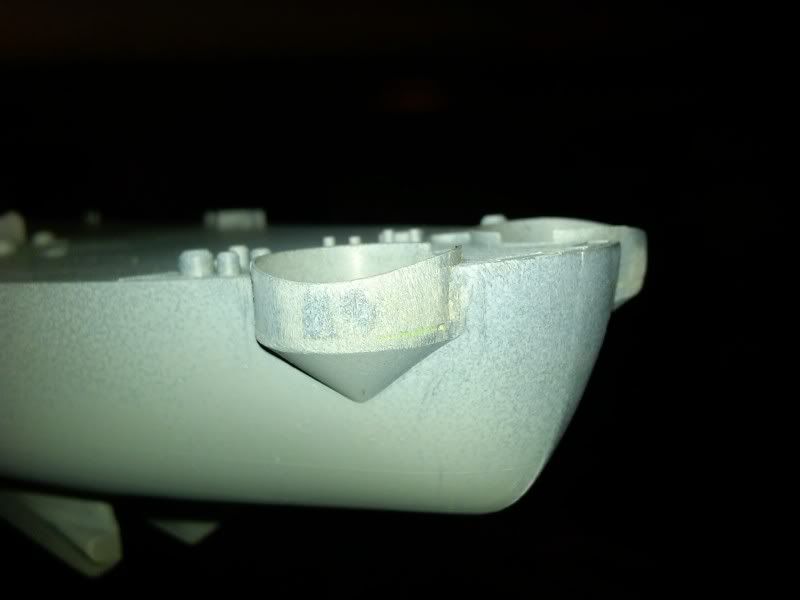
There is a small fit problem with the forward deck.
Attachment:
File comment: small gap.
 USS Long Beach CGN-9 014.jpg [ 23.55 KiB | Viewed 1506 times ]
This gap is almost completely covered by piece G23 and the small gaps should be taken care of with a little sanding. The gaps between the deck and the hull can also be filled with putty and then the railings actually go over the filled in gap. I removed the front locating pins on part G23 so I could sand the bottom of it for a better fit to the deck.
Attachment:
 USS Long Beach CGN-9 015.jpg [ 24.63 KiB | Viewed 1506 times ]
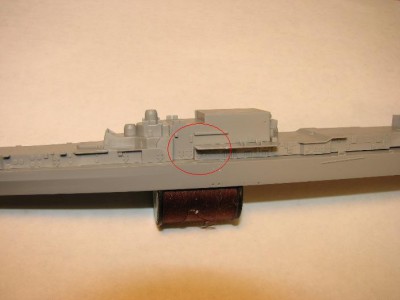
The only gap is the one between parts G23 and G25 because it is out in the open.
Attachment:
 USS Long Beach CGN-9 016.jpg [ 28.36 KiB | Viewed 1506 times ]
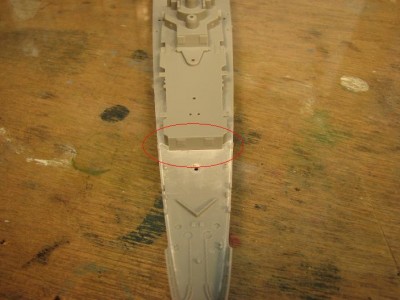
I removed the rear locating pins on part C18 so the bottom could be sanded for a better fit also.
Attachment:
 USS Long Beach CGN-9 017.jpg [ 58.97 KiB | Viewed 1506 times ]
That is the sum of the minor problems that I have run across.
April 20, 2011 One more fit problem found, this is between G23, G25 and the main deck. The problem is fixed with a little scrapping and sanding.
Be sure to check fit often.
Attachment:
File comment: Location of fit problem between G23, G25 and main deck.
 USS Long Beach CGN-9 018.jpg [ 28.58 KiB | Viewed 1443 times ]
Attachment:
File comment: Areas that need to be scrapped and sanded for a better fit.
 USS Long Beach CGN-9 019.jpg [ 26 KiB | Viewed 1443 times ]
April 22, 2011
Deck seam filled.
Attachment:
File comment: Deck seam filled.
 USS Long Beach CGN-9 020.jpg [ 51.39 KiB | Viewed 1360 times ]
taskforce48 asked:
whatcha going to be doing with that 1/350 San Francisco in the background?
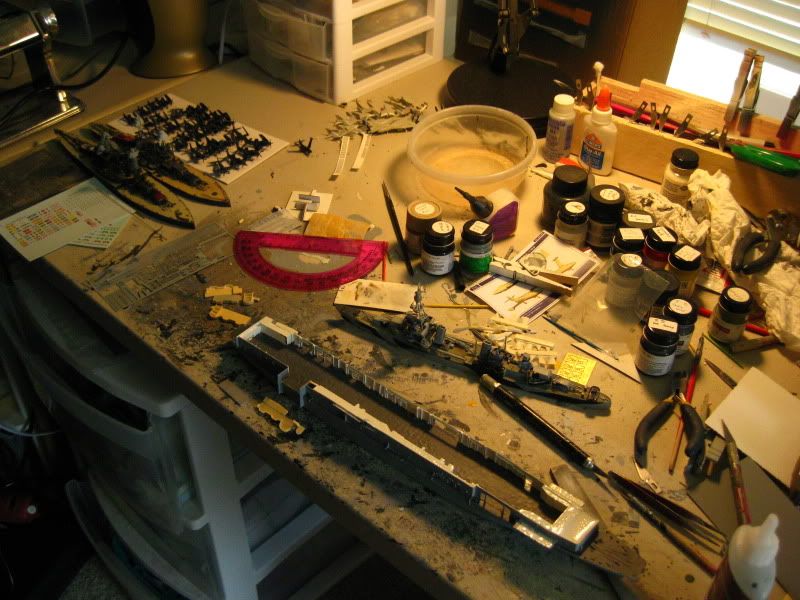
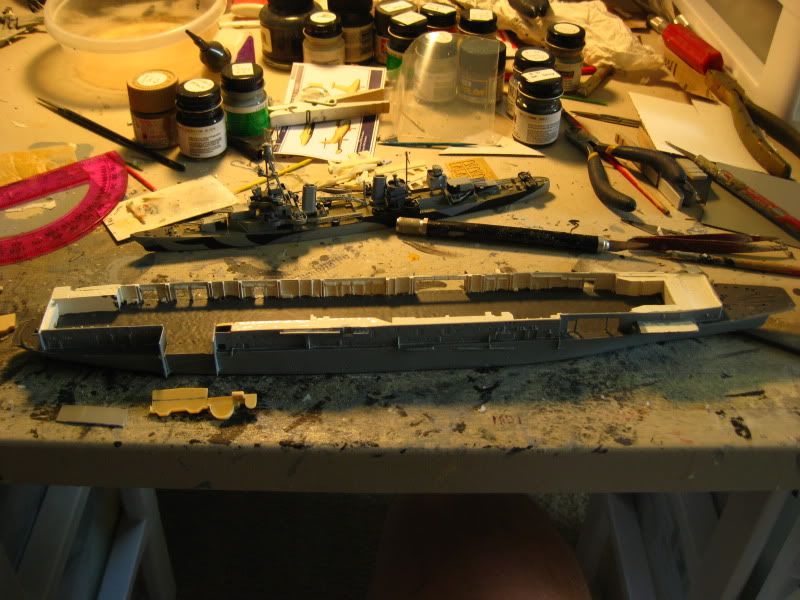
Matt, I would like to take it outside and just shoot it with a BB gun but I bought a GMM pe set for it and that would be a waist of good money. It now sits in the basement and every now and then I take it out of the box and work on it. Last week I worked on finishing up the hull and deck assembly and started on the bridge structure until I decided that there were too many fit problems and I put it back into the box untill the next time.
That's it for now.


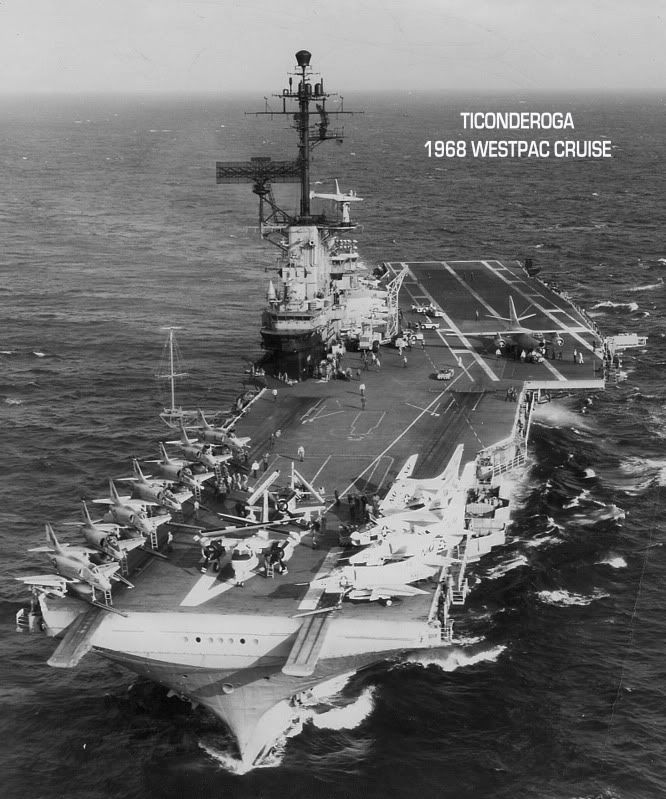 I'm in. 1/350 scratchbuild papercard Tico.
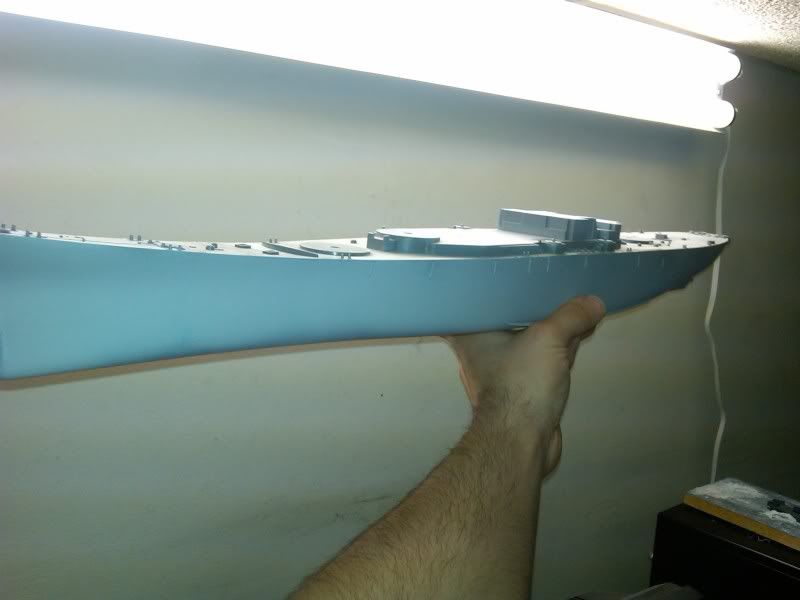


 I count myself very lucky in finding a wife who allows me to indulge in my hobby, I assure you though it comes at a price.