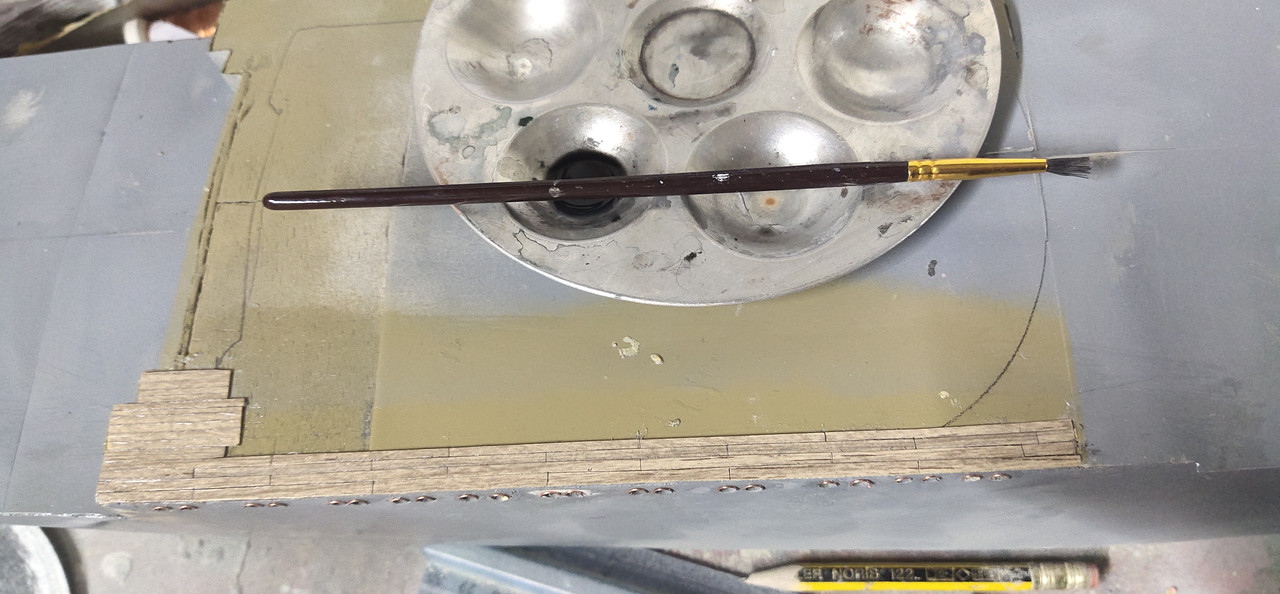
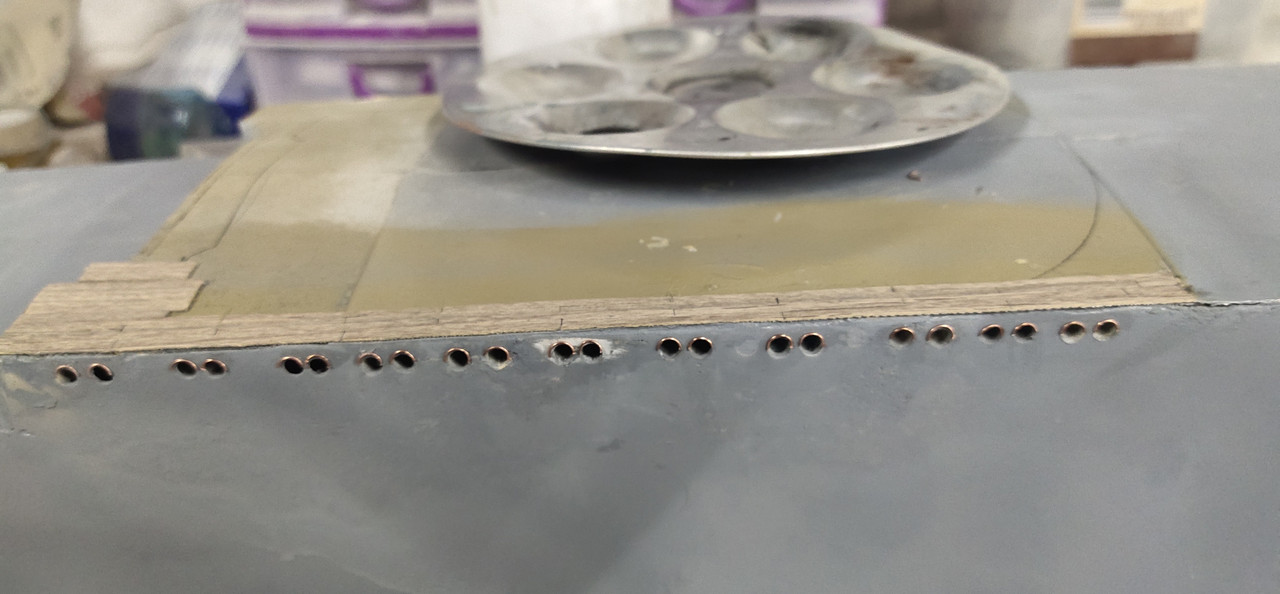
have finished the hull to the polishing point. However during hard sanding I noticed vertical surface cracks at the point where main deck lowers and meet the aft deck. Even I had fortified this joint that wasn't enough to make up for the absense of a unified deck and planking. Also some filler peel off appeared in some areas. Another lesson learned. Under these circumstances, laid up of a 3rd hull seemed inevitable.
After consideration and online study I decided to to risk and try a new for me technique. Wrapping the hull in fiberglass.
To make it a bit more rigid and avoid another two week season of sanding I chose an extra light fiber mat, 30gr per sqm heavy. I gave it 3 layers. 5 would be better but I was afraid of extra resin causing problems with foam again. I will probably do the rest work after at least 24 to 48 hours.