Page 12 of 29
Re: 1:75 diving support vessel Well Enhancer
Posted: Sat Feb 04, 2012 6:23 pm
by ARH
Re: 1:75 diving support vessel Well Enhancer
Posted: Sat Feb 04, 2012 7:48 pm
by Richard J OMalley
Re: 1:75 diving support vessel Well Enhancer
Posted: Sun Feb 05, 2012 2:48 am
by tweety777
Thanks for the compliments!
The ships boats are already under construction, only some more PUR-foam will be needed to make them ready for filling.
The boats that I have under construction now are the plugs, I will make moulds off them, so I can make the actual boats of fibreglass.
The reason for that is that every lifeboat (including the hyperbaric lifeboat) will be RC-ed as well.
Fortunately the davits are fairly easy to be made working as they have 1 winch, and use gravity to have the "arms" swing outboard.
The "arms" will be the toughest part to build, as they are bended.
Greetings Josse
Re: 1:75 diving support vessel Well Enhancer
Posted: Sun Feb 05, 2012 5:12 am
by tweety777
Update:

Continued the work on the dive-area by adding some plates below the removable deck.
The rear part has been adjusted to make room for a wooden plate glued underneath the deck, which was added to keep the deck in shape.

Added the first floor and also the first wall to add some strength.

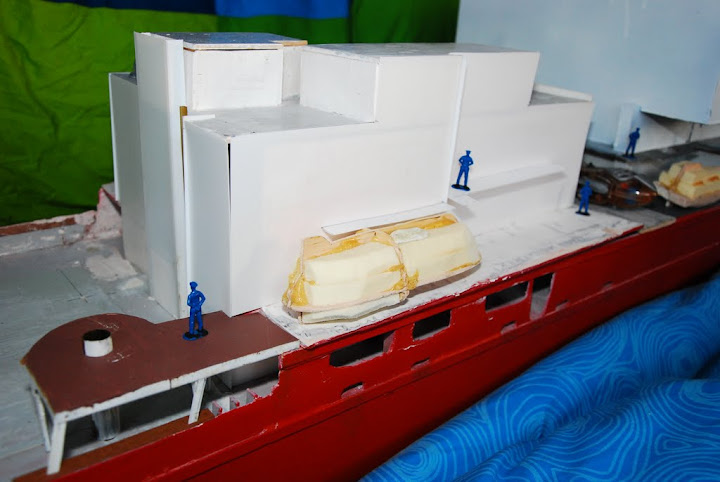
Here's some proof of the general arrangement not being accurate enough to build an escape hatch, as this hatch is clearly way too high...

Dry fit of the new deck.

Mechanic reports to the captain that no-one will be able to get inside through this escape hatch, as it is a bit too high.
Fortunately it's made left overs...
Now a quiz:
I did something wrong when I added the plastic plates to the dive-area, but what?
Greetings Josse
Re: 1:75 diving support vessel Well Enhancer
Posted: Sun Feb 05, 2012 7:15 am
by tweety777
Update:

Did some work on the lifeboats.
Started building the RHIB (rigid hull inflatable boat).

Hole now halfway through.
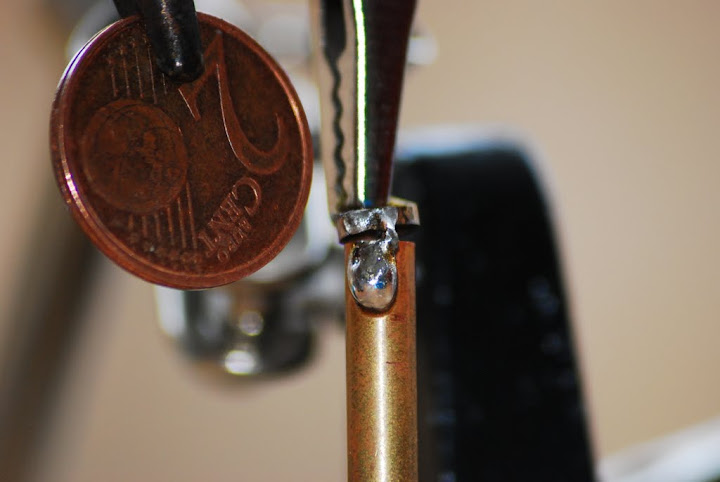
Also started making the first bearing repeaters which will be added to the panel in the wheelhouse which I made earlier.
The result wasn't what I hoped it to be, but the coin shows how small this thing is.
Greetings Josse
Re: 1:75 diving support vessel Well Enhancer
Posted: Sun Feb 05, 2012 3:39 pm
by tweety777
Update:

Did some more shaping on the lifeboats.

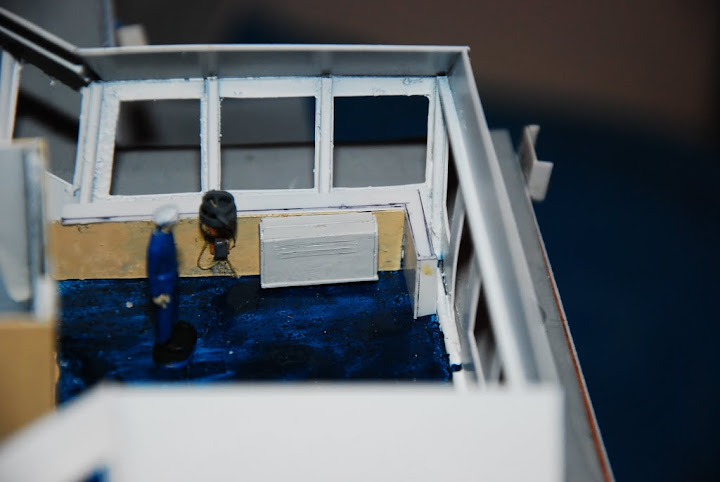
Placed the airconditioning unit, and the bearing repeater will be placed just beside it.

This is where it all will be placed.

As I was working with plastic sheets already I also made some platforms.

Also made the platforms at the other side, and placed the now pretty much shaped RHIB in it's proper position.

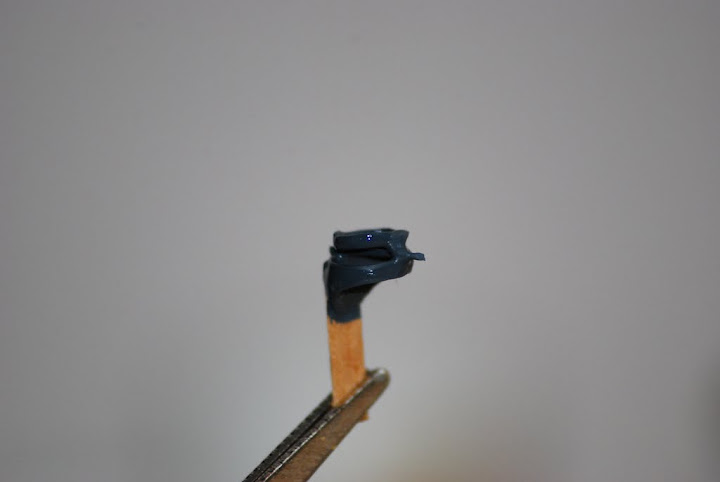
I also painted the bearing repeater.
Greetings Josse
Re: 1:75 diving support vessel Well Enhancer
Posted: Sun Feb 05, 2012 3:46 pm
by Richard J OMalley
Josse
Everything looks great but you are working to fast .

Re: 1:75 diving support vessel Well Enhancer
Posted: Sun Feb 05, 2012 3:49 pm
by tweety777
Lol

Thanks for the compliment.
BTW, fast isn't bad, as long as it doesn't come at the cost of accuracy and quality.
Greetings Josse
Re: 1:75 diving support vessel Well Enhancer
Posted: Mon Feb 06, 2012 4:47 am
by tweety777
Update:

Placed the bearing repeater and added some wiring.
The wires will be painted black, this was the best I have for the job.
Painted these wires black will be one heck of a tiny paint job, but if one wants a highly detailed model, one will need to do this kind of work...

Painted the floor in the wheelhouse at the places where there wasn't enough paint yet.

As the holes for the rear legs weren't positioned straight above each other the rear legs started to take a little angled position.
As adjusting the holes takes way more effort, and this angle doesn't look all that bad (how many masts have their rear legs standing at an angle?) I decided that I would keep the angle, and would drill new holes to allow wiring to be passed into the mast.
The old holes (which are now clearly visible) have now been filled with filler and the new holes have been drilled.
Greetings Josse
Re: 1:75 diving support vessel Well Enhancer
Posted: Mon Feb 06, 2012 9:14 am
by tweety777
Update:

As the filling and sanding is now about to be done (only some edges need some fine-tuning, and the decks need to fit better, but that can only be done when the electronics are fully operational as I otherwise can't reach there places any more) I'll now get started with the detailing, whilst waiting for the electronics to be made.
Here the bearing repeater has got it's electronics box fitted, and the wiring has been done too, though that came at the cost of some paint (for some weird reason ropes want to be straight rather then being put in all kinds of shapes...), but I'll deal with that soon enough.

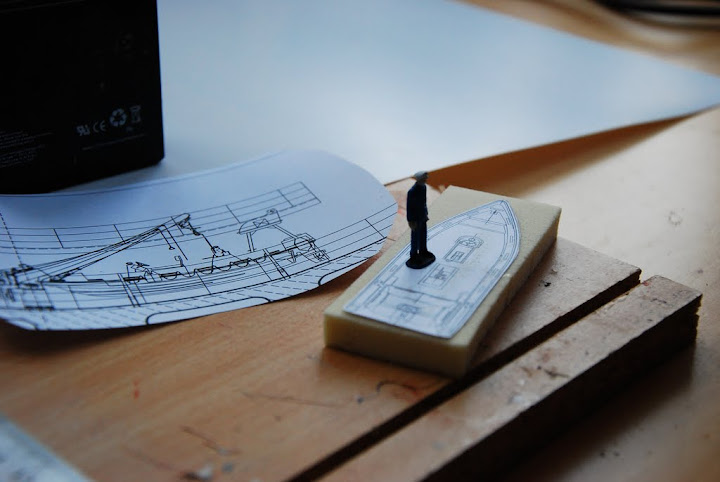
As people tend to be lazy nowadays the designer of this ship was asked to draw a few seats in the wheelhouse to enable the helmsman to take a seat while steering the ship.
As I'm trying to get as close to the real ship as possible I decided to make a seat as well.
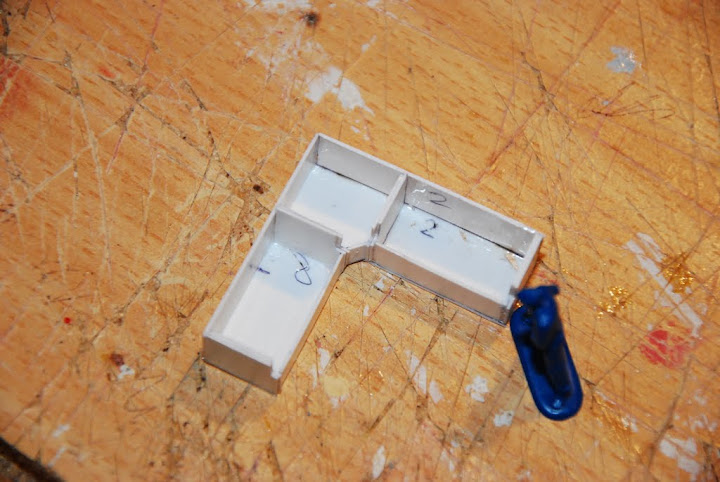
Here the first parts for the first seat are being glued.
The part in which the hole doesn't go all the way through is to be the part where the helmsman will be seated, the part with the hole going all the way through is the part where (on the real ship) the seat is attached to a rail to enable it to move in front of the instrument panel, whilst disabling it to get everywhere in the wheelhouse.
In total there will be 5 of these seats in the wheelhouse.

I also made the top part of the panel I was working on earlier before.
This will first be painted and detailed before I will add the current panel to it.
The edge of the panels are fitted with a wooden plank, which is darker then the rest of the panel.
This edge is 0,3mm wide, so I wonder if it would be worth the effort to paint this?
Or would it hardly be visible?
Greetings Josse
Re: 1:75 diving support vessel Well Enhancer
Posted: Mon Feb 06, 2012 11:07 am
by tweety777
Update:
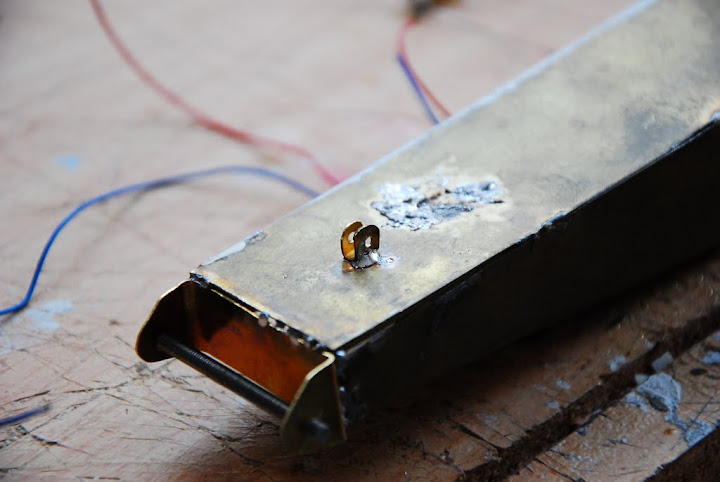
While waiting for the glue to dry I finished making the hole for the spring, and also prepared the lot for soldering a few new parts to it.
The tube will be used to guide the spring through the hole, though I made turn it around to keep it out of the way for the spring when the arm is in it's highest position.
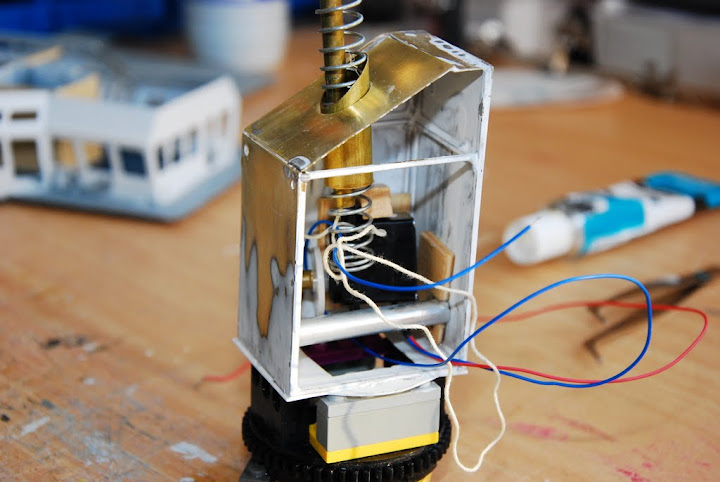
Put all the stuff in it to give an impression of what it will look like.


Still to be detailed.

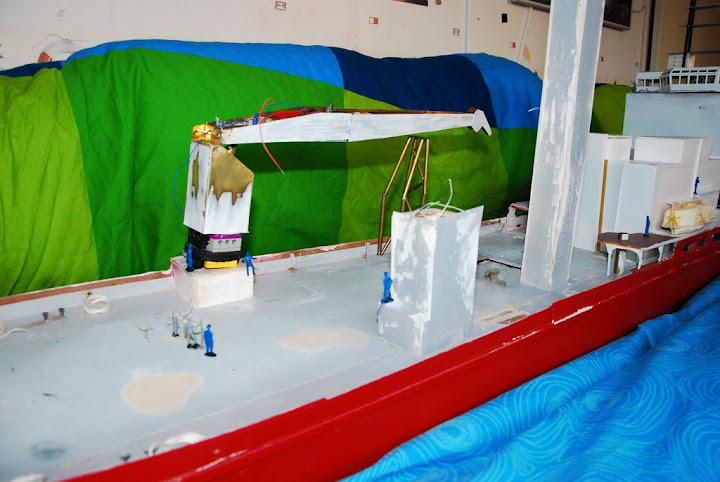
Build a new boat, so I wanted to have it properly visible, but as it's placed at the other side of the ship the only way to do that was to put her in the water.

As the ship is now at sea there's no need to wonder around with ropes, so the crewmembers that have the duty to work with the mooring ropes are now indoors reading a book or something, lazy sailors...

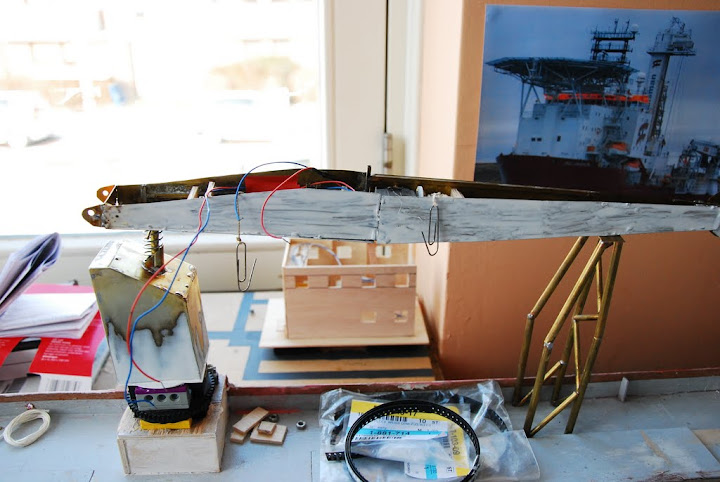
Now on to some attachments, and then the crane is ready for duty...

Not quite a small crane.
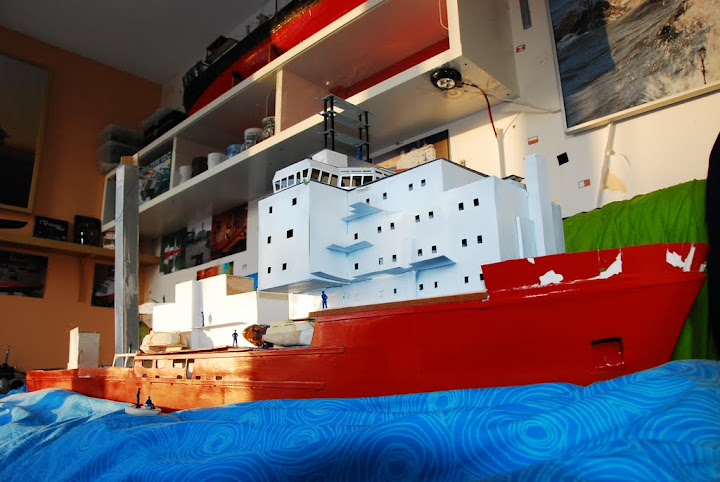
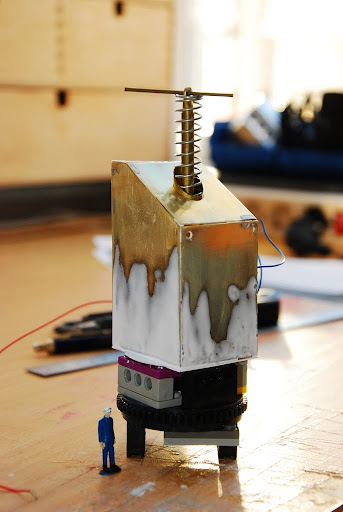
Painted the main mast.

Nice view over the still pretty empty rear deck.

And the painted mast.
Greetings Josse
Re: 1:75 diving support vessel Well Enhancer
Posted: Mon Feb 06, 2012 3:22 pm
by tweety777
Before I forget about it once more, I want to tell you that I've decided to drop the idea of making parts of the interior.
Only the wheelhouse will still get interior (as that has a way higher emotional value as being my favourite place aboard the ship).
The main reason for this decision is that the helicopter deck brings quite some weight and force onto the superstructure (but not the wheelhouse), requiring a construction that can keep those forces in place.
The 2 cabins which were already under construction will be finished and placed on the boat stand, where they can show in a much easier way how the crew lives aboard modern day ships.
Now on to today's last update:

The designer has kept me in mind when designing the wheelhouse, as he made me a nice couch where I could sit down in my favourite place on the ship.
This is the start of making the couch.

Lowered the escape hatch on the bow, and filled it with glue hoping that could help making the top side level.


I decided to make the pillows by glueing 2 sheets of plastic to each other, which will be shaped later on.

There will be 2 couches for 2 persons each, and in between them there is a table, so who will join for a cup of coffee?...

Couldn't stop working on this beauty, but the result looks pretty good isn't it?
This makes me feel happy, I CAN DO THIS TOO!!!!!
Says a very happy person (I wander what would have caused the happiness??).

Added some more parts to the couch (you all know precisely how I made it...).
Now I need to poor some wood glue in it, and then some paint and then the couch will look like the real thing.

Added the pole to the seat bottom and rail-system.
Greetings Josse
Re: 1:75 diving support vessel Well Enhancer
Posted: Mon Feb 06, 2012 6:16 pm
by Richard J OMalley
Re: 1:75 diving support vessel Well Enhancer
Posted: Tue Feb 07, 2012 1:11 am
by tweety777
Sorry, couldn't my self either


I enjoyed myself too much.
BTW, photographing is another hobby of me, that explains why I add so much photo's (at least at times).
That's also 1 of the reasons why I have a DSLR, apart from having earned it by photographing enough sports teams (the local ones, not the rich clubs that everybody knows and of which every man except me has a huge poster hanging on the wall) for a company.
Though I'm hoping to be to replace the camera by a semi-pro DSLR any time soon, but those camera's don't really come cheap...
Greetings Josse
Re: 1:75 diving support vessel Well Enhancer
Posted: Wed Feb 08, 2012 4:46 am
by tweety777
Update:

Shaped the back-support.

Preparations for placing the back-support (what's it's proper English name?).

Added the back-support and the brackets that hold the real back-support in it's place, adding some strength to this fragile part.
Helmsman seated in his too high seat.
I also added 2 levers which are used to adjust the seat (at least the real seat, I like to make as much working as possible, but this is impossible...).


Placed the seat next to the instrument panel where it will be placed in the wheelhouse.
Here you can clearly see that the seat is too high, so next time I'll check this out before assembling the lot as it's now quite a tough job to adjust the height, though it does give me the opportunity to make the seat stand upright.
Greetings Josse
Re: 1:75 diving support vessel Well Enhancer
Posted: Wed Feb 08, 2012 9:22 am
by tweety777
Update:

Pored glue in the couch and escape hatch.

Attached the tube that will guide the spring.

Spring put into the tube, ready for assembling the other parts.

In order to make the cylinder slide in and out I attached the outer tube to the guide-bar that guides the rope, and will in time act a first part of a reduction system for the rope to give the servo it's needed strength.

Lay-out of the inside of the crane house, without the winch.
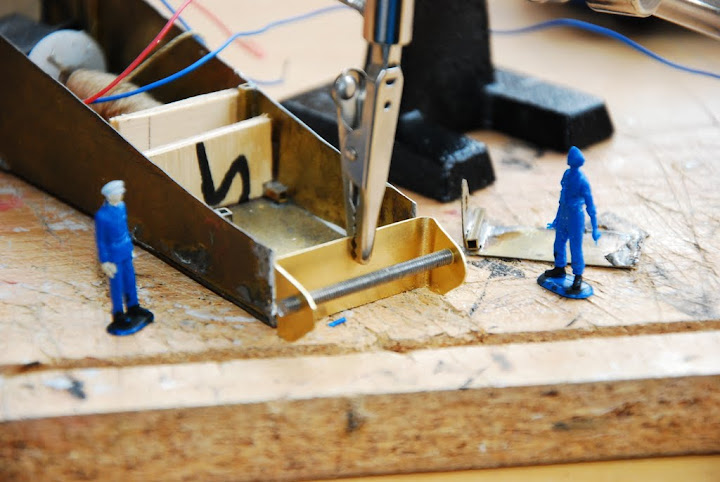
The attachment bracket's have been trying to break free several times, so now I made a new 1 out of 1 piece so it would have much more soldering surface, making a stronger joint.

Attachment that will come atop of the crane house under construction.

Attached the bracket.

Folding the plate made it hard to properly solder the parts together.

Angle is too low now, but I will add a support that will make sure that the spring gets high enough to increase the highest angle.
An impression of what it will look like.
Now the crane is getting close to being operational!
Greetings Josse
Re: 1:75 diving support vessel Well Enhancer
Posted: Wed Feb 08, 2012 11:49 am
by tweety777
Update:

Another part ready to be placed.
This part was pretty hard to make.

After quite some frustration I finally managed to get the crane arm attached to the crane house.

Shortened the tube a little, though still not enough.


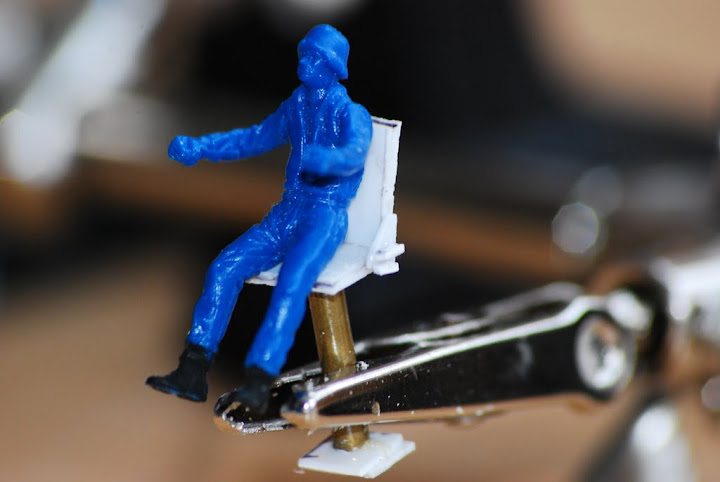
Helmsman is finally sitting in his chair, so full speed ahead both engines!
Oh wait, there are some rocks dead ahead...

Checking if the ship is still on course, or would he be enjoying the view?...

Invited myself...

HELP, WE'RE ABOUT TO BE RAMMED!!!!!

Still some people looking after the escape hatch.

If the ship's hardly sailing there's some time to do some maintaince on the lifesaving equipment, just so you can do some work...
Oh wait, I'm trying to show that sailors aren't lazy aboard ships like this...
Someone worrying about the air pressure in the hyperbaric lifeboat.


The reason for hiding next to a bunch of rocks: the crane appears to be at the point of falling...
Why is no-one wearing a safety helmet?

Using hand-signatures to pass the message about the status, everything is fine, just...

Overall view over the large rear deck.
Greetings Josse
Re: 1:75 diving support vessel Well Enhancer
Posted: Tue Feb 14, 2012 11:10 am
by tweety777
Update:

Shortened the leg of the chair.

As I have the intention to make the helodeck available for landing helicopters the deck and underlying structures need to be able to cope with the forces of a harsh landing of a helo.
As the superstructure is made of thin plastic sheet it simply wouldn't be able to cope with such forces, so I decided to add some brass stiffeners, that will need to guide the forces into the stronger plywood which is still strengthening the lowest deck of the superstructure.
I will also add a transverse girder, but first I'll need to finish the cabins with their lighting, and at least make preparations for the electronics that will be placed inside the superstructure.

The brass bar is only attached in a few places, but those are the critical places, the forces need to stay away from the plastic sheet.
Besides, the bar is positioned directly underneath the legs of the helopad.
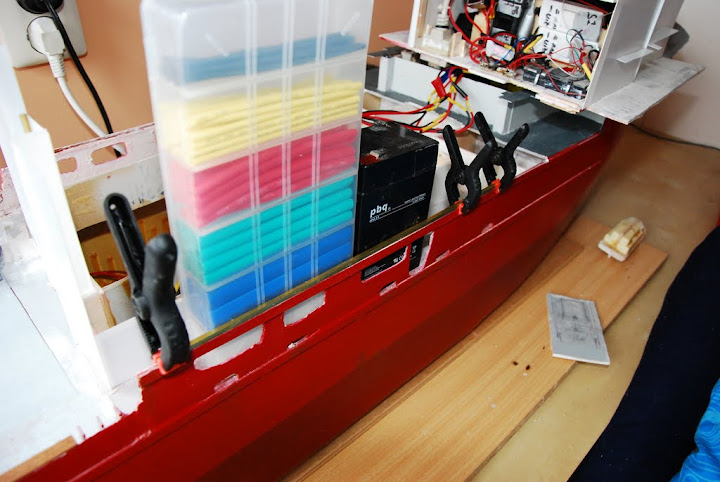
The deck at the side of the dive-area didn't fit properly, so I shortened the deck to make it stop before the hull plating, and increased the height of the sheerstrake.
When the detailing below this deck is finished I will cut the deck loose at the sides of the walls, and attach it to the hull permanently.
The detailing is not expected to get damaged as it's fully protected by the decks, walls and outer hull.

Added another wall.

This part of the hull turned out to have bended inwards, so while adding the brass bar I used the opportunity to make it straight.
Now on to the painting, and then the next deck can be build.

Now it all fits a lot better.

Painted some of the crew and some furniture.

Painted this 1 as well.
Greetings Josse
Re: 1:75 diving support vessel Well Enhancer
Posted: Tue Feb 21, 2012 4:42 am
by Ome
Hi Tweety777..

Nice build, as you have created a diorama in scratchbuilding .. It will be a combination of sweet and beautiful. I think I'd love to be among the figures that you put in navigation room and sailing with her
Re: 1:75 diving support vessel Well Enhancer
Posted: Tue Feb 21, 2012 8:39 am
by tweety777
Thanks for compliment.
Yeah, I like to sail her too.
I've actually thought about doing so today, but I needed to do some other things and now it's to late.
Greetings Josse