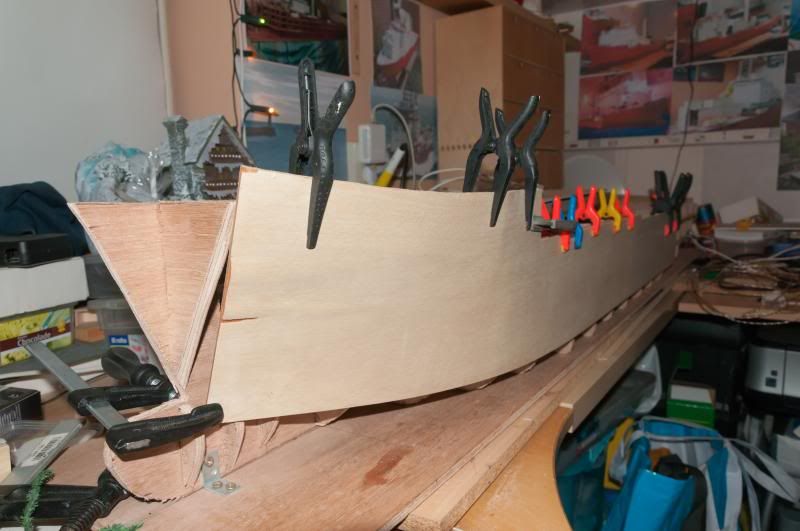
Update:
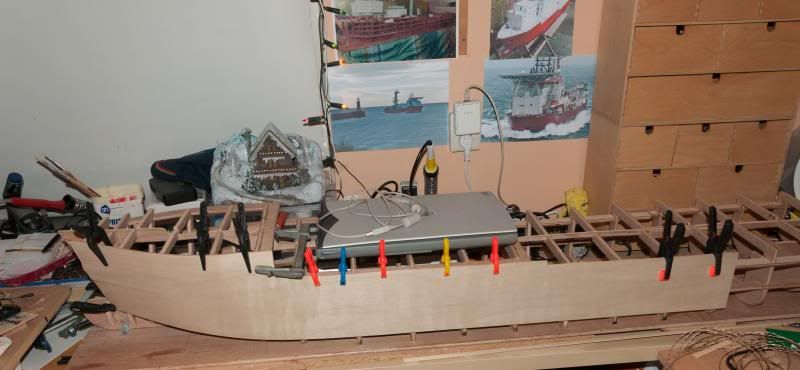
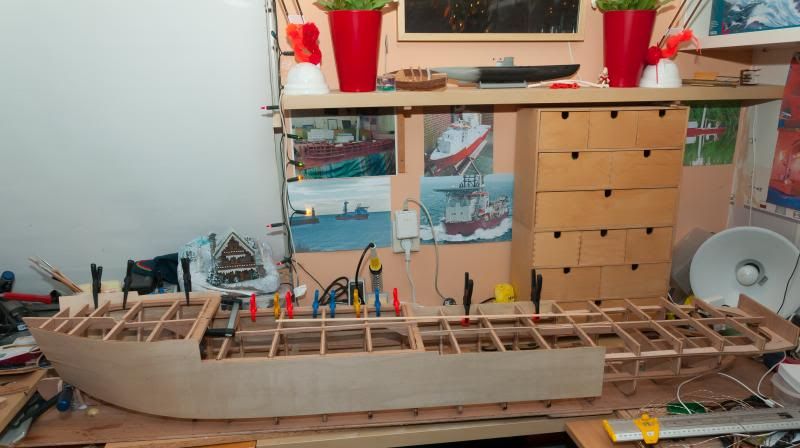
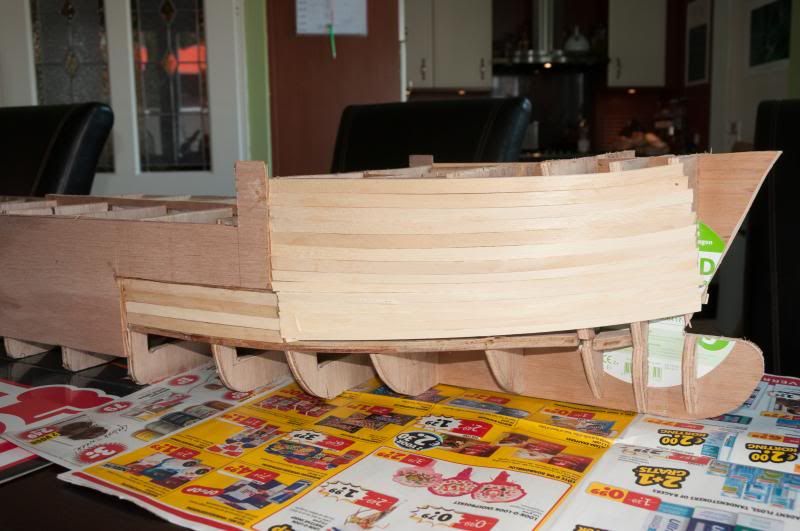
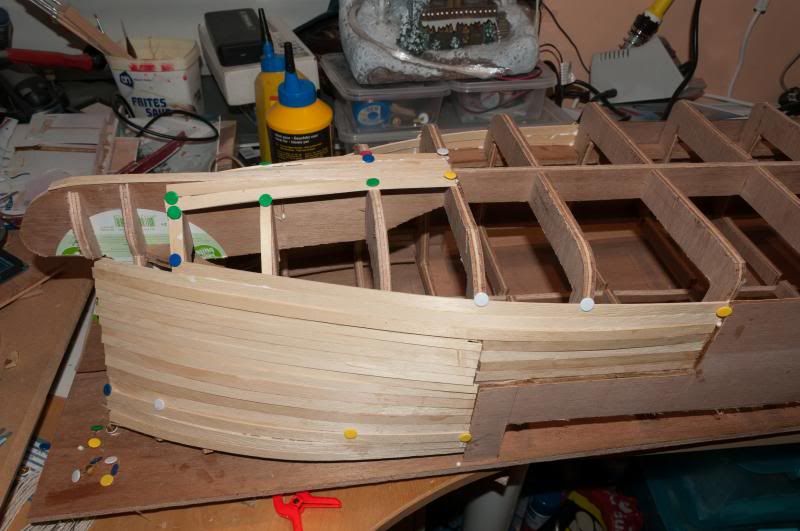
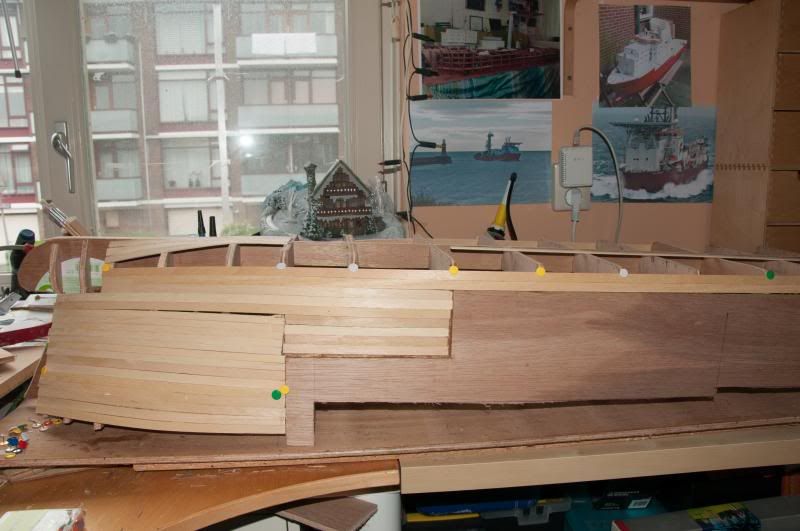
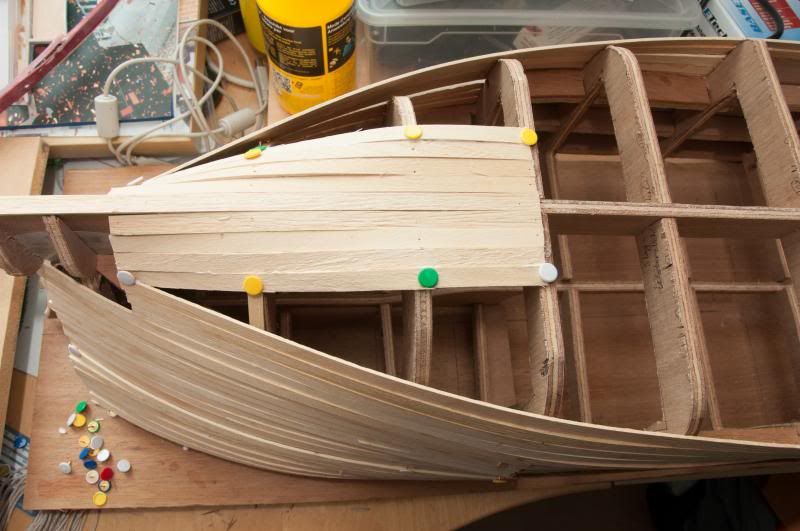
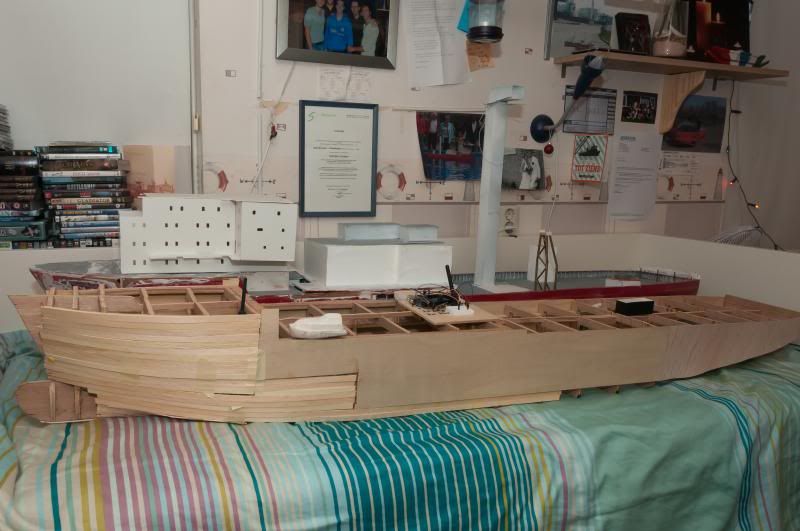
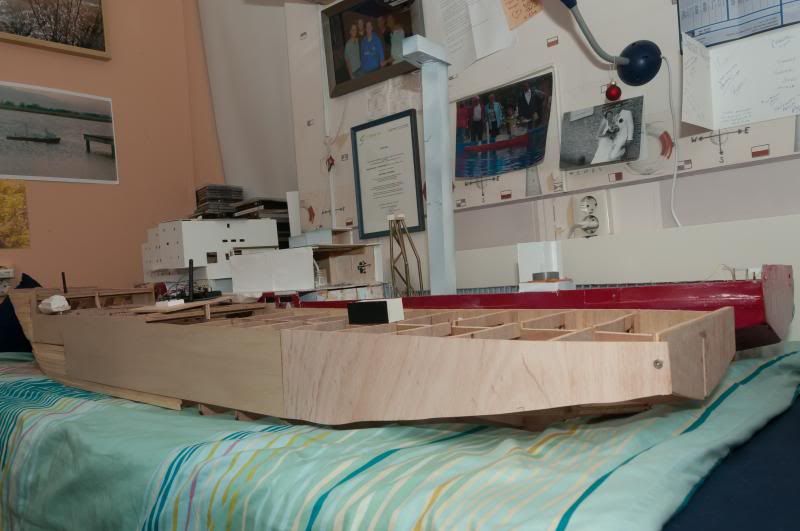
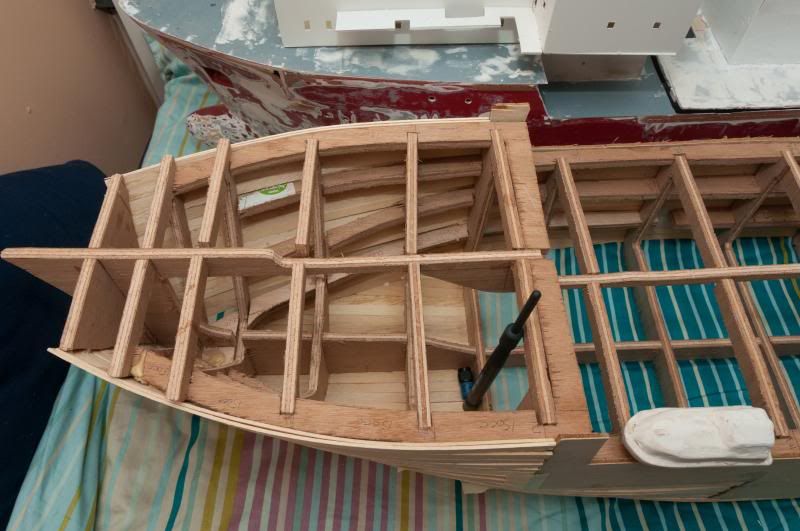
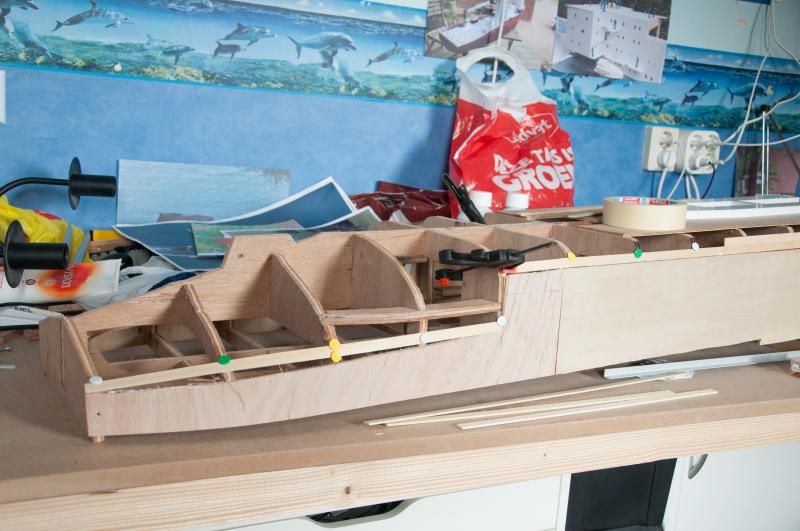
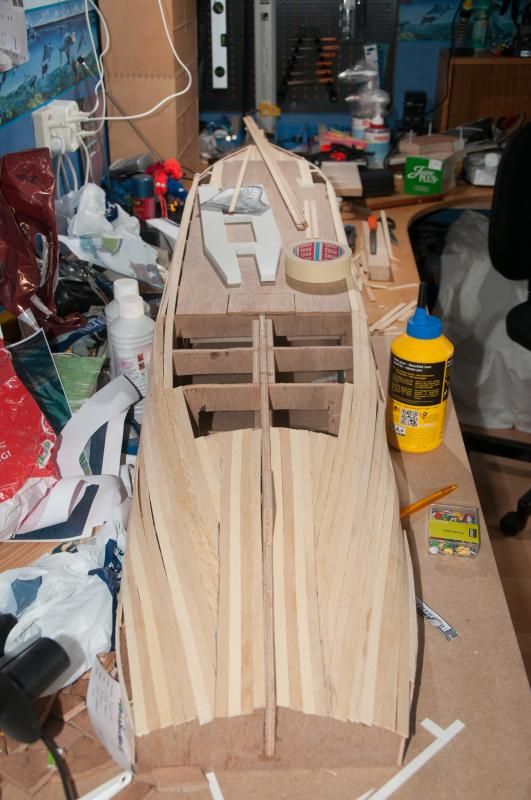
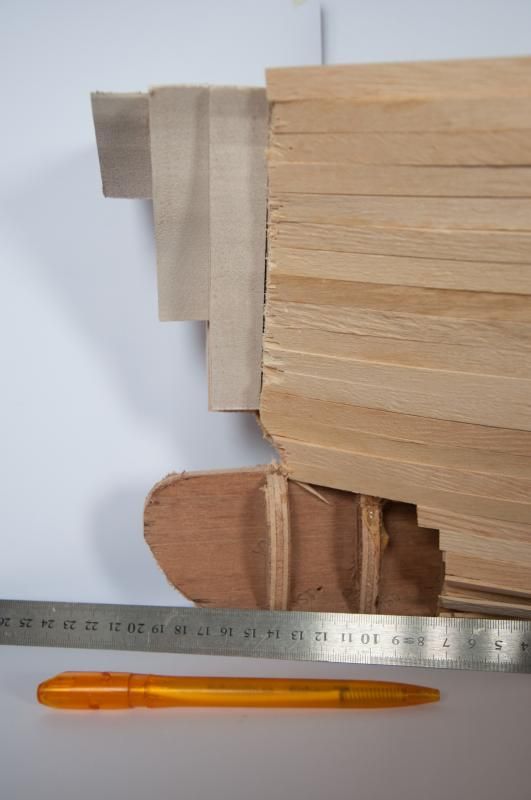
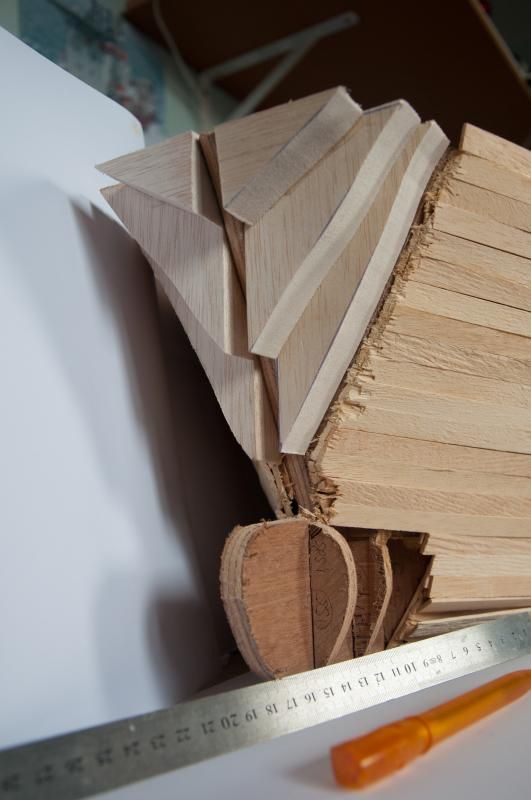
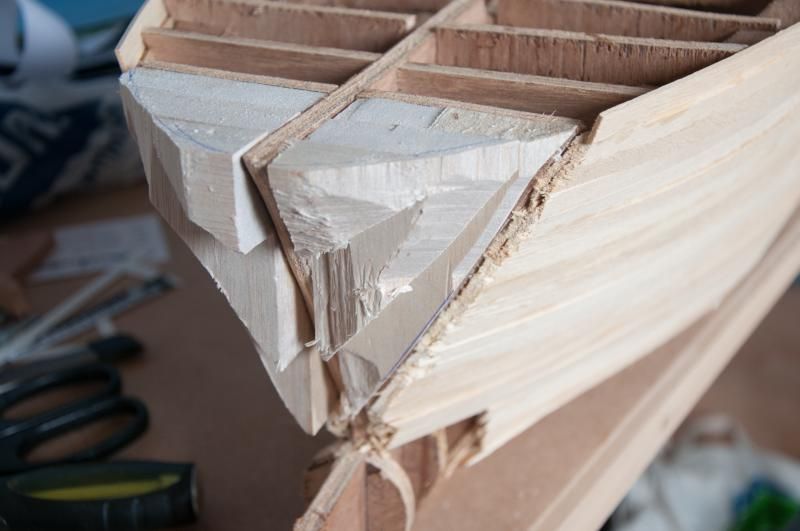
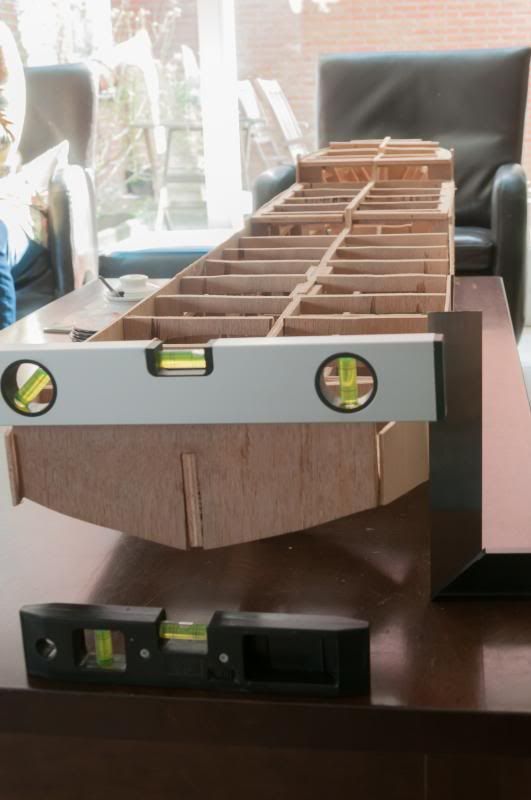
Behind the scenes the planking of the hull continues.
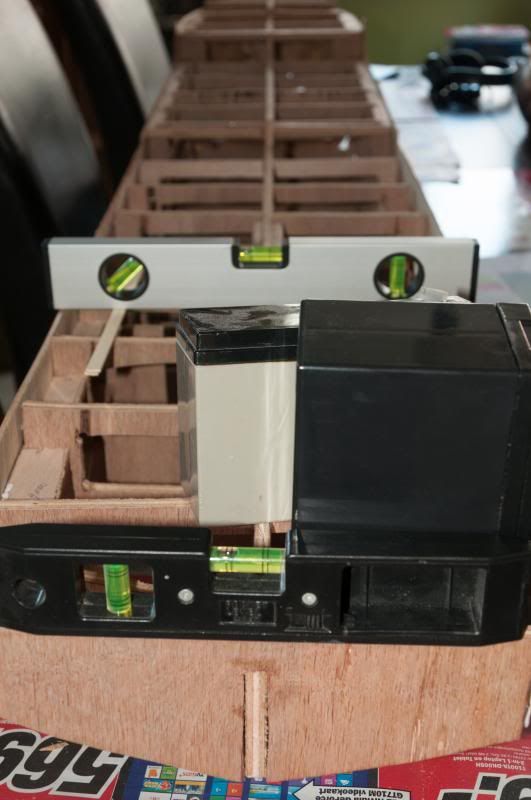
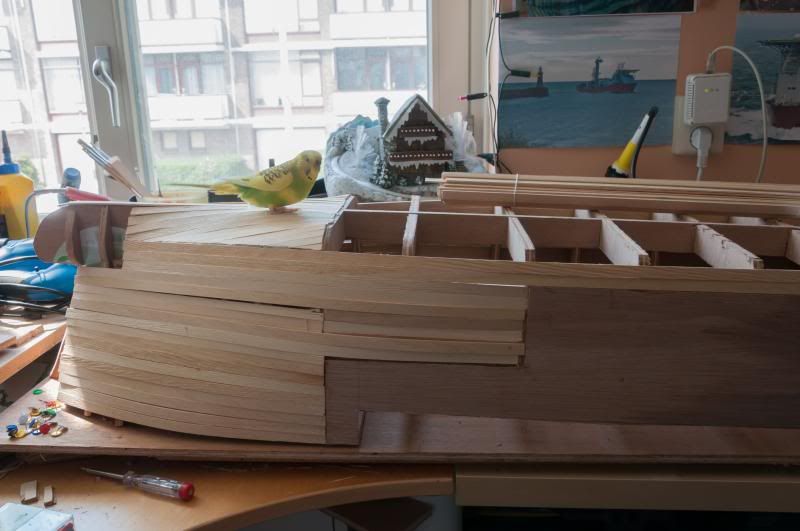
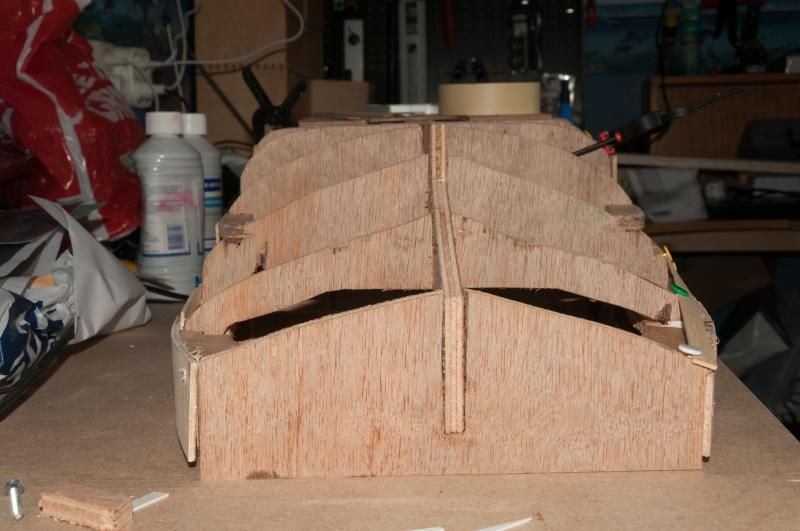
Yesterday I decided to check the hull only to find that the stern is twisted, see the photo's:
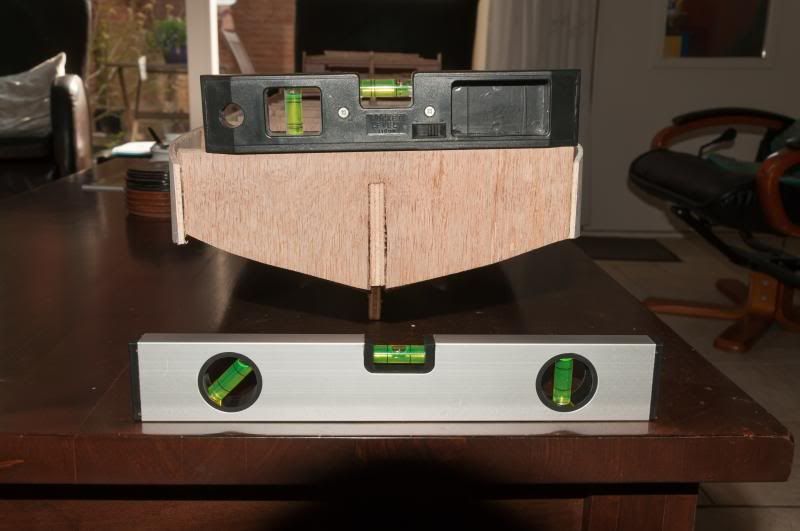
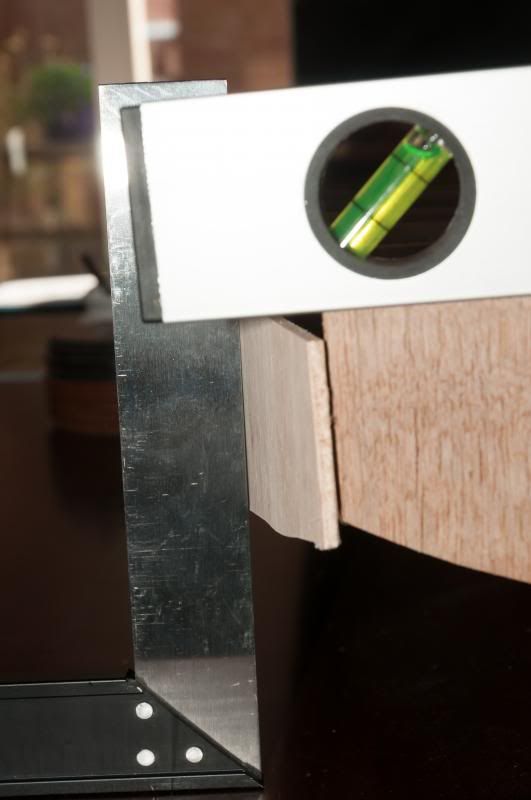
The photo doesn't show it all too well but there is a small gap between the tool and the hull plate.
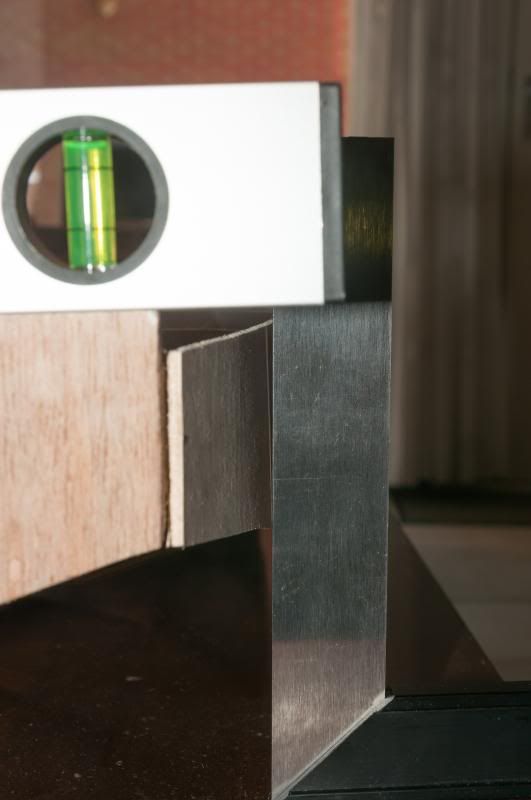
This gap is a lot bigger...
Yet the rest of the hull is straight...
What can I do to make the stern straight?
Would removing the plates, then add some weight and then reglue the plates be enough?
Or do I need to make an entirenly new stern section?
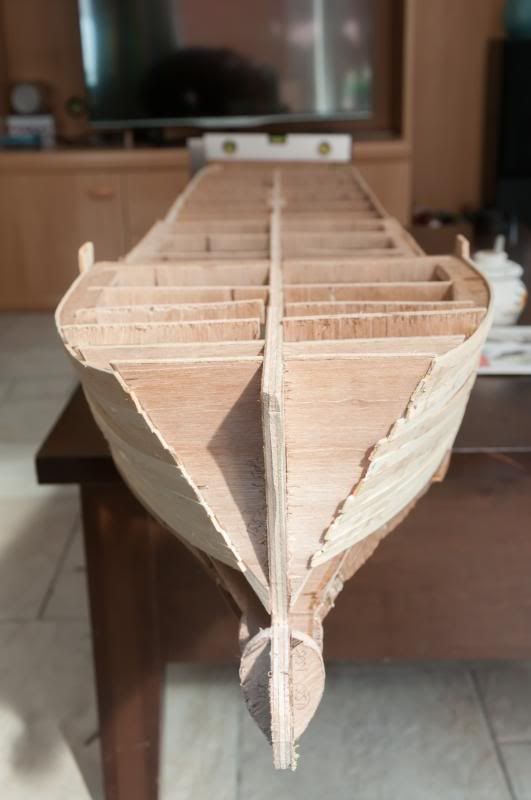
The bow is straight, fortunately.
Greetings Josse
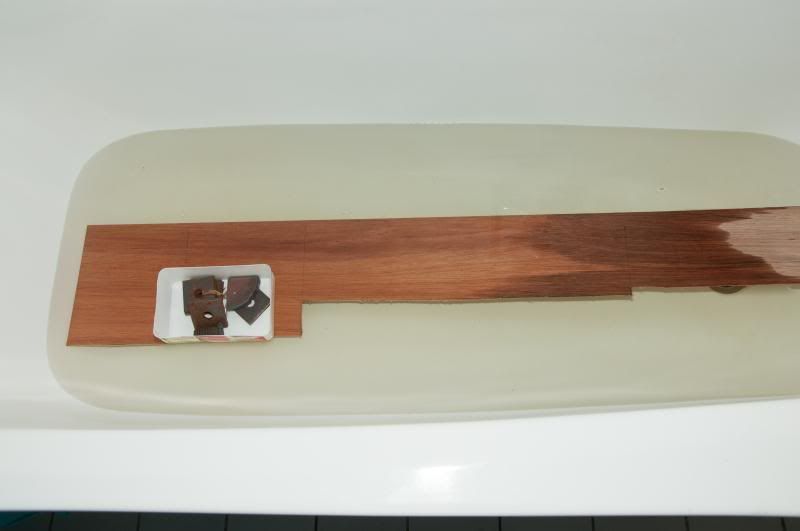
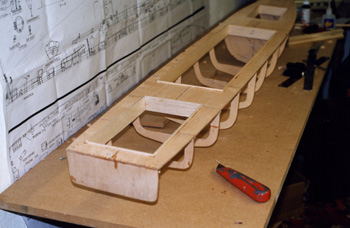
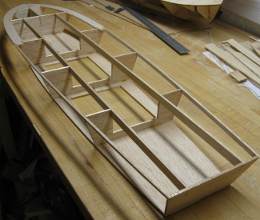
Making a complete new Well Enhancer, again scale 1:75.